The Witcher 3: Wild Hunt’s second DLC, “Blood and Wine”, presents players with the expansive and picturesque region of Toussaint, which is steeped in its distinct culture and challenges. Among the numerous activities and secrets to uncover in Toussaint are the Places of Power, which provide significant bonuses to Geralt, the protagonist. These Places of Power enable players to enhance their abilities and improve their performance in combat and exploration. This comprehensive guide will help you locate all five Places of Power in Toussaint, ensuring you get the most out of your adventure in this vibrant region.
How to Access Toussaint
Toussaint becomes accessible once you begin the “Blood and Wine” expansion. To get there, activate the introductory quest titled “Envoys, Wineboys,” which you can find on various message boards throughout Velen. This quest will guide you to the picturesque yet perilous land, a part of the Nilfgaardian Empire, located southeast of the Northern Realms. Keep in mind that Toussaint is intended for higher-level players, so it’s advisable to prepare adequately before venturing into this challenging territory. Alternatively, you can also start a predefined save that takes you directly into the “Blood and Wine” story, bypassing the main campaign.
Toussaint Places of Power Locations
In Toussaint, five Places of Power are scattered across the map, each providing a significant boost to one of Geralt’s Witcher Signs and granting the player an additional Ability Point. Let’s explore each location in detail:
-
The Kikimora Cave
North of Rioux-Cannes Outpost and west of Beauclair lies the Kikimora Cave, the first Place of Power. As you approach from the north side of the hill, you may hear two NPCs calling for help—a good indicator that you are in the right place. This scenario initiates a side quest where you will have to rescue an NPC from Kikimoras.
Upon entering the cave, look for a tunnel on the left. You can choose either to break a weak wall to avoid the first group of Kikimoras or walk directly into the tunnel. The second group of Kikimoras will be directly in front of the Place of Power. Be prepared for combat as you make your way to the stone.
-
Behind the Arthach Palace Ruins
The second Place of Power is located northeast of the Arthach Palace Ruins, nestled within a swamp near the northern end of the map. This Place of Power is guarded by a formidable Wight, which can be challenging to defeat due to its higher level and the fact that it spawns additional enemies.
It is possible to access the Place of Power without confronting the Wight if you are quick enough, but this approach may be risky. Engaging and defeating the Wight provides a safer path to harnessing the power of this stone.
-
Ruins of Fort Ussar
The Ruins of Fort Ussar host the third Place of Power. This location is particularly treacherous, as it is home to two Draconids. To reach the Place of Power, approach from the west, noting the flying lizards above as indicators of the correct path.
Follow the trail up the west side of the ruins to find the hidden entrance. Inside the cavern, you will find the Place of Power. The journey may be challenging due to the Draconid presence, so be sure to prepare for a potentially tough battle.
-
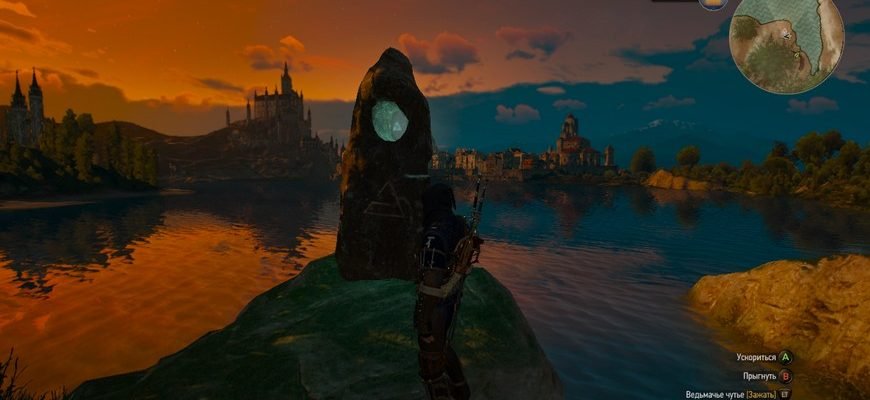
South Beauclair Lake-side View
The fourth Place of Power is located on the southern shore of the lake west of Hortense Vineyard. This is one of the easier Places of Power to access, as it is unguarded and has no significant enemies nearby.
Approach the stone from the water for the easiest path, and enjoy the view as you meditate to receive your bonuses. Although a black Puma is nearby, it generally does not pose a threat as it is not a dedicated guardian of the Place of Power.
-
Termes Palace Ruins
The fifth and final Place of Power is located beneath the Termes Palace Ruins, specifically inside a small cave hidden behind a waterfall on the eastern side of the southernmost ruins. This location also has connections to the Grandmaster Wolven gear diagrams from the tier 5 Wolf School Witcher set, making it a valuable spot for upgrading your gear.
Upon entering the cave, turn right and search for a cracked wall, which can be broken with the Aard Sign to reveal the chamber containing the Place of Power. The cavern is otherwise clear of significant danger, making this a relatively straightforward stone to access compared to some of the others in Toussaint.
Strategic Tips for Utilizing Places of Power
To maximize the benefits from Places of Power, consider the following strategies:
- Plan Your Route: Knowing the locations of all Places of Power ahead of time allows you to plan an efficient route, minimizing travel time and maximizing buffs.
- Buff Stacking: If you are tackling particularly challenging quests or enemy encounters, strategically visit multiple Places of Power in succession to stack buffs and gain a significant combat advantage.
- Regular Visits: Remember that the bonuses from Places of Power last for 30 minutes. Regularly revisiting these locations can help maintain strong buffs during extended play sessions, especially when dealing with tougher enemies and contracts.
By fully leveraging these Places of Power, you can significantly enhance Geralt’s abilities, making your journey through Toussaint both easier and more rewarding.
Conclusion
Having a detailed understanding of each Place of Power in Toussaint is essential for any Witcher aiming to harness the full potential of Geralt’s abilities. With their strategic locations, each of these stones offers more than just a magical buff; they represent opportunities to strengthen Geralt for the adventures and challenges that lie ahead in the world of The Witcher 3: Wild Hunt. By following the guidance provided in this article, you will ensure that no Place of Power is left untapped, enabling you to make the most out of your Blood and Wine experience in the vibrant, danger-filled land of Toussaint.